Creating an Inspection
Creating and sending an inspection with God's Eye allows you to request and capture photos, videos, and text responses from a recipient. Multimedia items go through numerous tests to ensure an image or video has not been doctored and can pull data from the respective items to verify vehicle identification numbers, license plates, and odometer readings.
Before creating an inspection, ensure you have followed the resources for configuration:
Selecting an Inspection Type
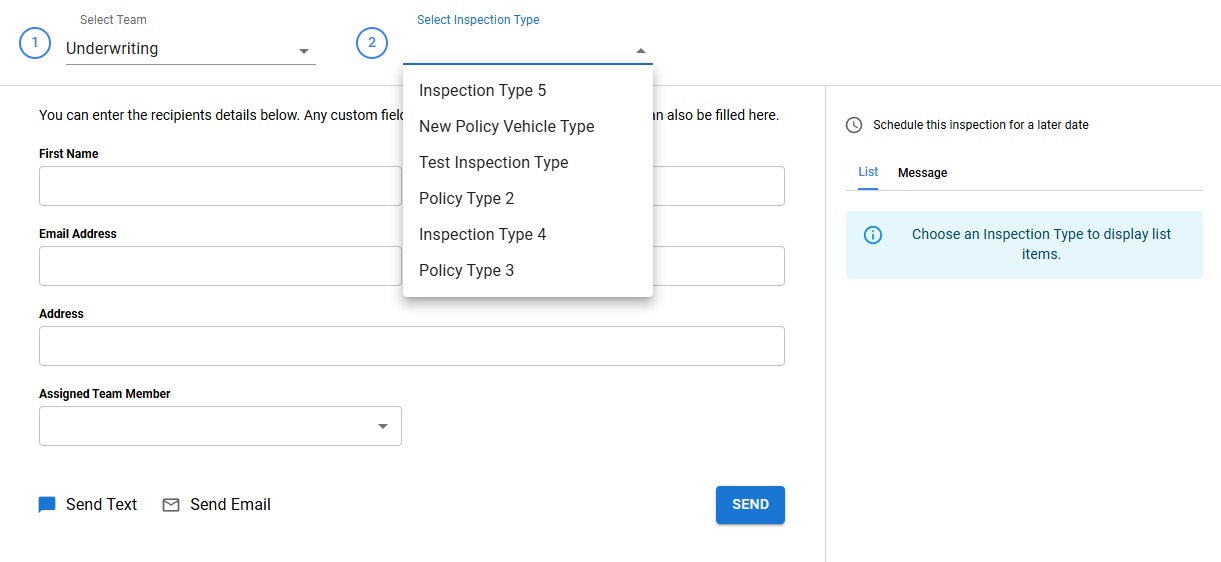
Because the inspection types a user has access to are organized by the team a user is assigned to, you need to select a team first. If you are not a part of a team or have not created a team, you can create one in the configuration settings of your account.
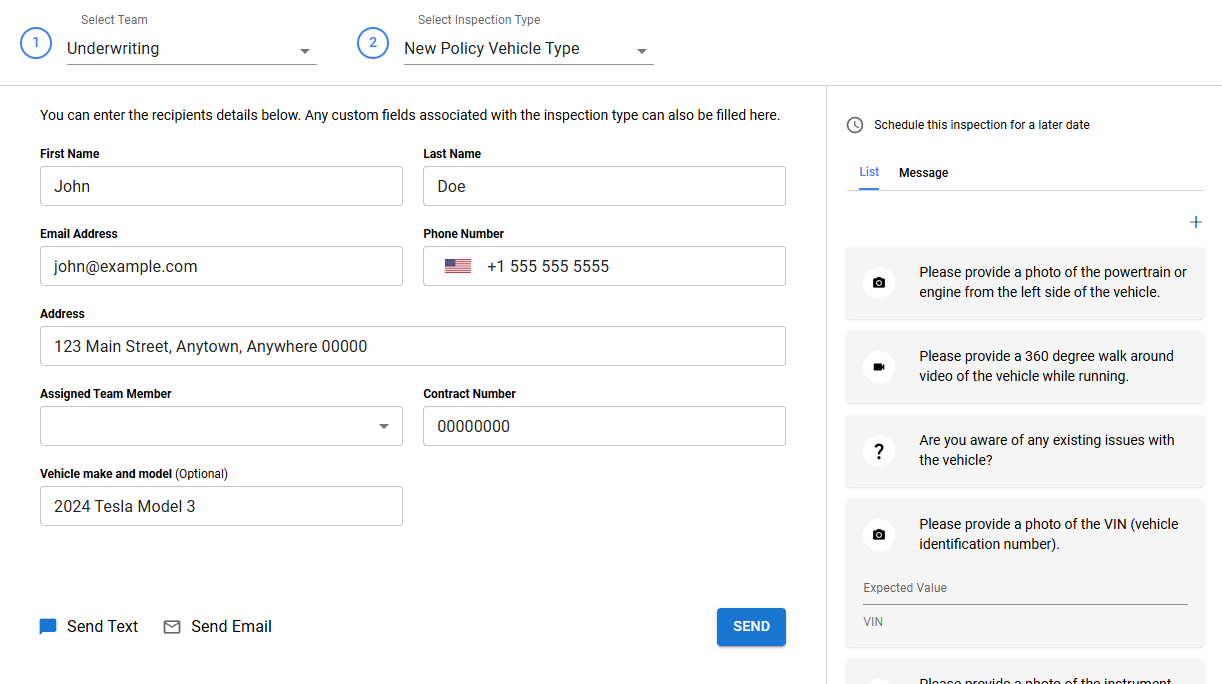
Selecting a team will populate the inspection type selector with all of the inspection types associated with that team. Note that no fields or list items will populate until you do so, other than the default recipient fields.
Default and Custom Fields
Recipients are created and attached to each inspection you create. Regardless of the communication method you select, the phone number and email fields are required.
The recipients address can be auto-completed, however if you choose to type the address yourself, it's important to type the address as correctly as possible as it gets converted to coordinates for later verification purposes.
If you have defined custom fields within your inspection type, you can fill those now. Optional fields can be left blank.
Editing And Modifying List Items
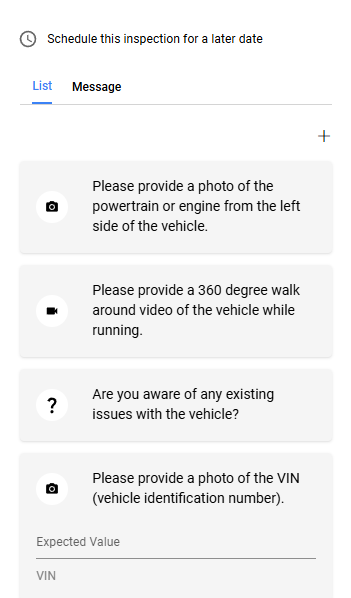
If you've configured your list items to accept parameters such as the expected odometer range, license plate number, or VIN, you can fill those in here.
You can also add temporary list items by clicking thebutton. These will not be permanently saved to the list.
The values you provide to the list items will be used for comparison against results from the OCR test. Since an item failing verification does not prevent a recipient from submitting the inspection, if the OCR results do not match the provided values, you can override the verification result manually if you deem the provided media to be satisfactory.
The list items that originate from the inspection type cannot be excluded, but temporary list items can be removed after they have been added.
Editing And Modifying List Items
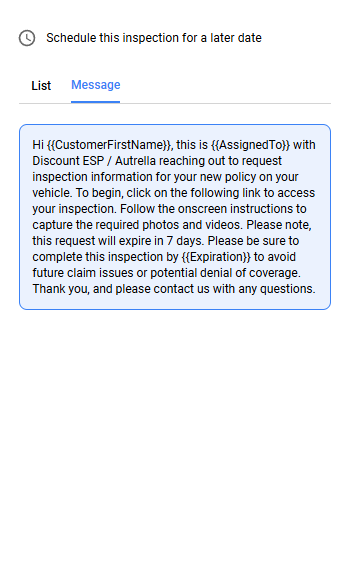
Clicking the messages tab will allow you to view the "New Request" message. If you have not completed the required fields, the variable names will show, surrounded in double braces.
You can modify the "New Request" message in your message template settings. Please note that only the "New Request" template can be sent upon an inspection's creation, since each template is designed for a specific stage of the inspections life cycle.
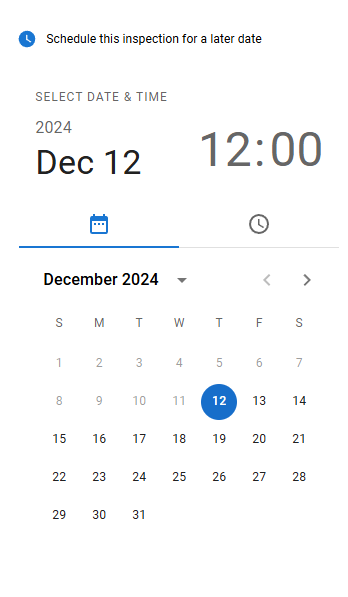
Scheduling an Inspection
If you are not ready to send out an inspection yet and would rather save it for later, you can schedule it for a time and date to be sent. There is no limit on how far out you can schedule an inspection.
Clicking the button will prompt a date/time selector to appear. The schedule is only set once you click "Ok". Clicking "Clear" will reset the date/time selectors, and clicking "Cancel" will cancel the scheduling process.
The inspection expires 7 days from when it is first accessible. After this expiration, you can reopen the inspection for the recipient as many times as you want. The recipient will not receive a message informing them about the inspection until the scheduled date and time are reached.
Creating the Inspection
Once you've set all of the fields and verified the list items to correct, you can click "Send". If the inspection is scheduled, it will notify the recipient when the scheduled date and time arrives, and if it is not scheduled, they will receive a notification immediately.